How to Load Transaction Data from Flat File in SAP BI/BW
 Jessica Blake
⚡ Smart Summary
Loading transaction data from a flat file into SAP BW creates a file source system, DataSource, transformation, and data transfer process, then uses an InfoPackage and DTP to load the file records into a DataStore Object.
What is Flat File Data Loading in SAP BW?
Loading transaction data from a flat file lets you bring external data, such as a CSV or text file, into SAP BW for reporting. In this scenario, data is loaded into a DSO named “DEMO_DSO” with the following fields:
- Key Fields: ZCUST (Customer), ZMAT (Material)
- Data Fields: ZPRICE (Material Price), ZQTY (Quantity)

Below are the steps to load data to the DSO from a flat file.
Step 1: Create a Source System for the Flat File
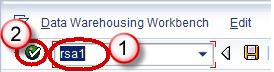
- Go to transaction code RSA1.
- Click the OK button.
In the next screen:
- Navigate to the Modeling tab -> Source Systems.
- Right click on the folder named FILE and choose “Create” from the context menu.

In the next screen:
- Enter the Logical System Name.
- Enter the Description. Click the Continue button.

Step 2: Create an Application Component
- Go to transaction code RSA1.
- Click the OK button.

- Navigate to the Modeling tab -> Data Sources.
- Choose the source system.

- Right click -> Create Application Component.

- Enter the Technical Name.
- Enter the Description.
- Click Continue.

Step 3: Create the DataSource
- Go to transaction code RSA1.
- Click the OK button.

- Navigate to the Modeling tab -> Data Sources.
- Right click -> Create Data Source.

- Enter the Technical Name.
- Choose the DataType DataSource.
- Click Continue.

- Enter the fields shown below. This structure should be the same as the DSO to which transaction data is to be loaded.

- In the Extraction tab, choose the Adapter as “Load Text-Type File from Local Workstation”.
- Choose the file path where the flat file is placed and activate the DataSource.

Step 4: Create a Transformation (DataSource to DSO)
- Go to transaction code RSA1.
- Click the OK button.

- Navigate to the Modeling tab -> InfoProvider.
- Create Transformation.

- Enter the Target Object Type.
- Enter the Target Object Name.
- Enter the Source Object Type.
- Enter the Source Object Name.
- Enter the Source System.
- Click Continue.

The below screen shows the transformation created with automatic mapping of the source fields to the target fields.

Step 5: Create a Data Transfer Process
Right click on the DTP folder and choose the option “Create Data Transfer Process” from the context menu.

The below screen shows the DTP created.

Step 6: Create an InfoPackage and Schedule the Load
- Go to transaction code RSA1.
- Click the OK button.

- Navigate to the Modeling tab -> DataSources.
- Right click on the DataSource -> Create InfoPackage.

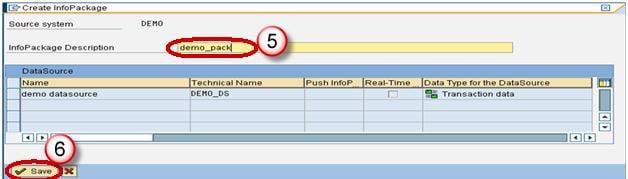
- Enter the InfoPackage description.
- Click Save.
- Click on the Schedule tab.
- Click the Start button to start the load from the flat file to the DataSource.

Step 7: Load Data to the DSO
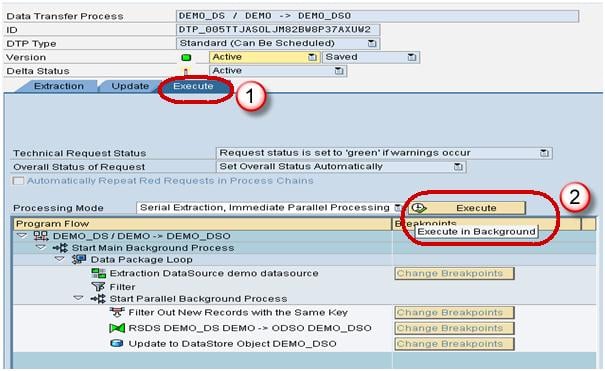
- Click the Execute tab in the DTP.
- Click the Execute button to start the data load from the DataSource (PSA) to the DSO.