
How to use Filters & Effects in Photoshop
 Editorial Team
⚡ Smart Summary
Filters and effects in Photoshop work like layer styles, applying creative combinations to transform an image. This resource explains applying filters from the Filter menu, previewing them in the Filter Gallery, and improving a photo by combining a Gaussian Blur duplicate with the Overlay blend mode.
Basic Photoshop Photo Filters
Filters are like “layer styles” in Photoshop. They have various types of combinations and effects which you can apply.
There are a number of designers who use filters and work with them very deeply, and come up with many creative combinations and images. Here I have an image on which I am going to apply different filters to make it more effective.
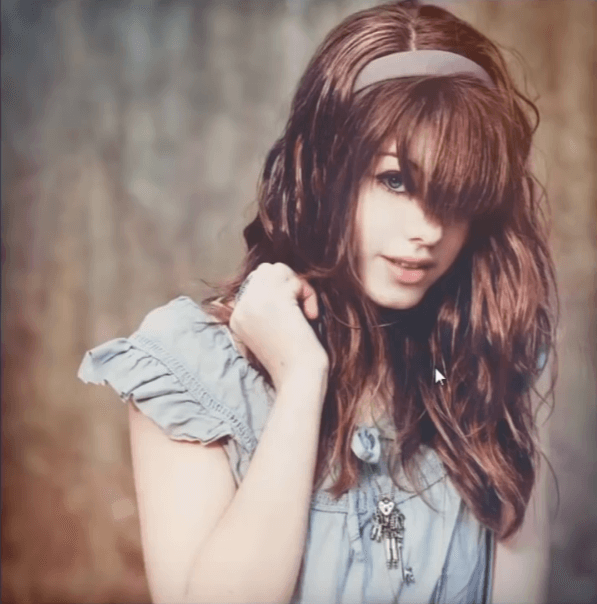
Apply a filter from the Filter Menu
Look here in the “Filter” menu. Here you have a bunch of different categories of filters.
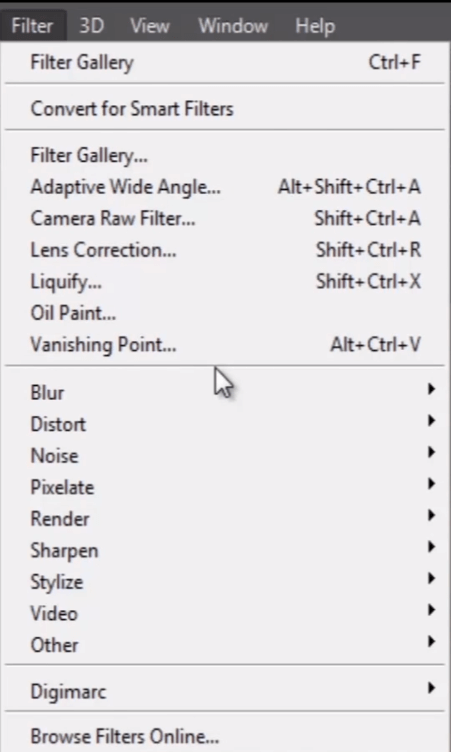
I suggest that, instead of paying attention to filter names, you should apply them one by one and check what they are really doing to your image, because the output of any particular filter totally depends upon the image on which you are working. Here we have “Blur”, “Distort”, “Noise”, “Stylize”, and much more groups of filters.
Filter Gallery overview
The “Filter Gallery” is the option where we can see a preview of all the effects of filters before we apply them.

Look, here is the list of filters which we have seen before in the filter menu. You can also apply the same Photoshop filter effects from this dropdown list, which contains all the filters together in a single list.
Apply filters from the Filter Gallery
Let us try some filter effects for our image. Make sure this eye must be on, so that we can see the preview of every filter effect on the image in the preview panel. Now just click on the filter which you want to apply to the image. You have to experiment with every filter to find the proper effect for your image, because filters give different output for every different image. Let me try the “Poster Edges” filter.
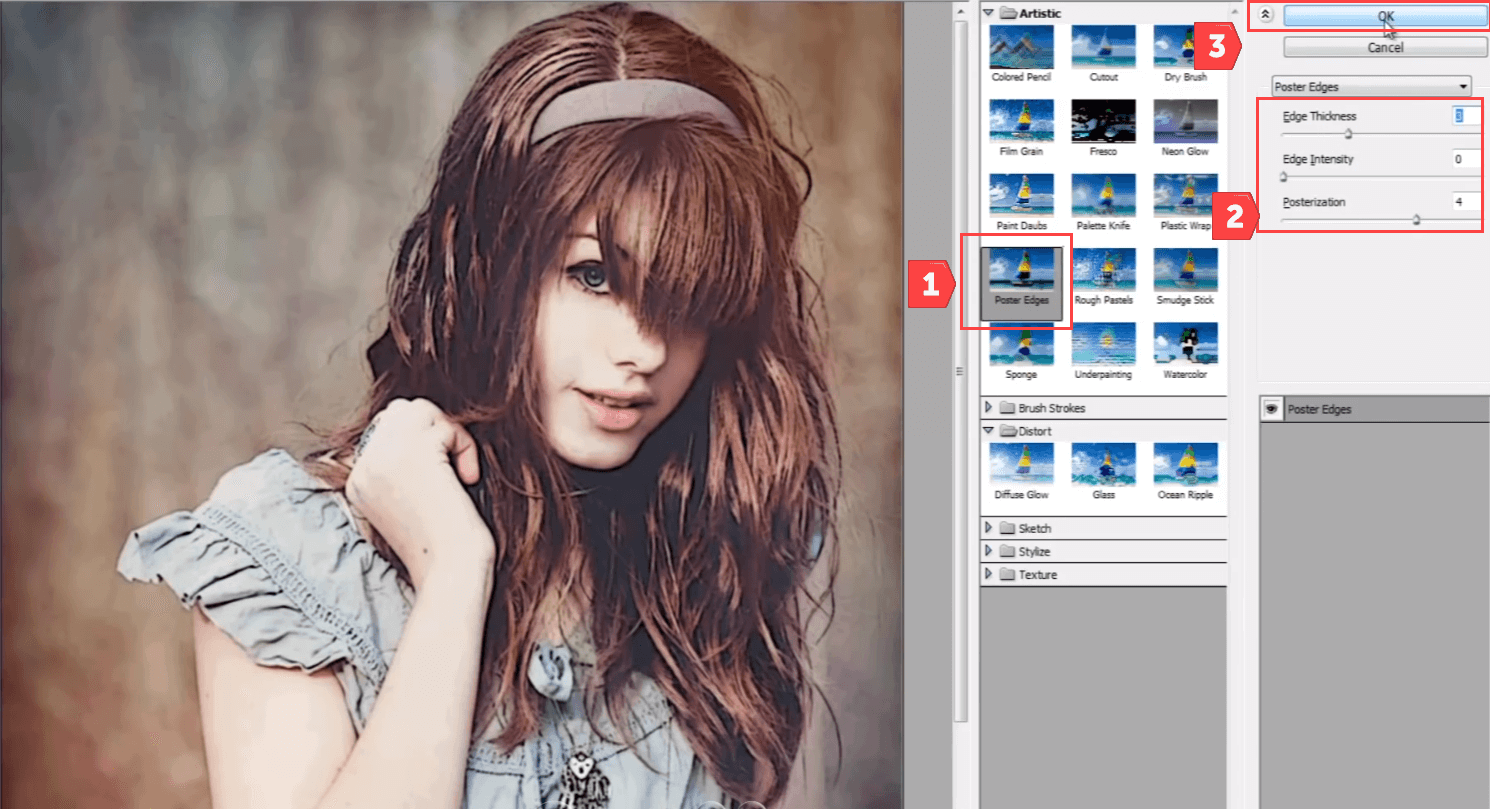
Here you can see some options to modify the effects of the selected filter. See the changing effects in the preview panel when I drag these options left and right. Finally, when you are done experimenting with filters, just hit “OK” to apply the final effect to the image. So you can notice the difference in our image after we have given the filter effect in the filter gallery. It has sharpened all edges and made the image look like it is painted.
Improve filter Performance
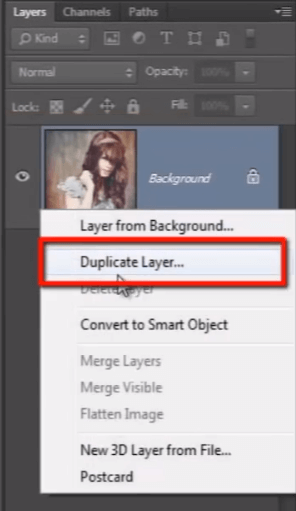
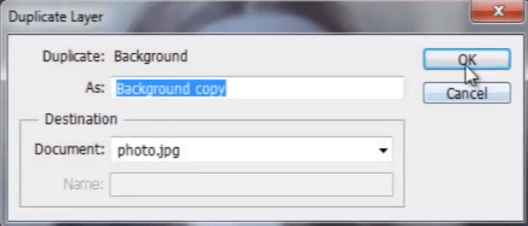
Let us try to make this image more effective. For that, let me take a duplicate of the layer.
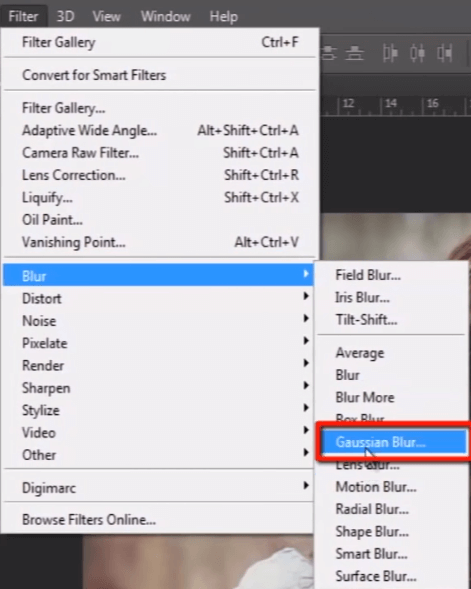
You can see here a set of different blur filter effects. I choose “Gaussian Blur”. It will blur the whole image.
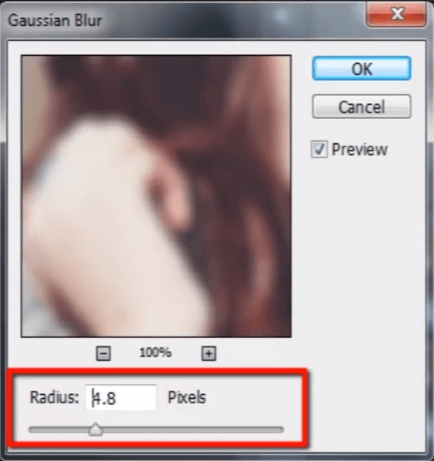
Set its value around 3 or 4 and hit “OK”.
Now change the blending mode of this blurred image to “Overlay”.
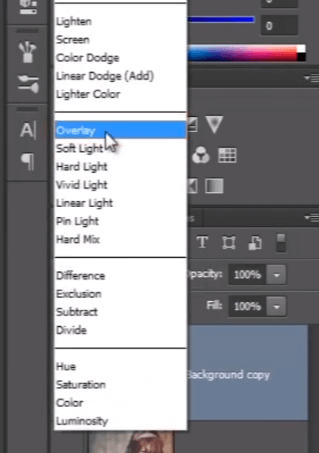
You can see how the feel of the image is improved. Before we gave any effects to the image, it was a very dull image. But now the colors and feel of the image have improved very much.
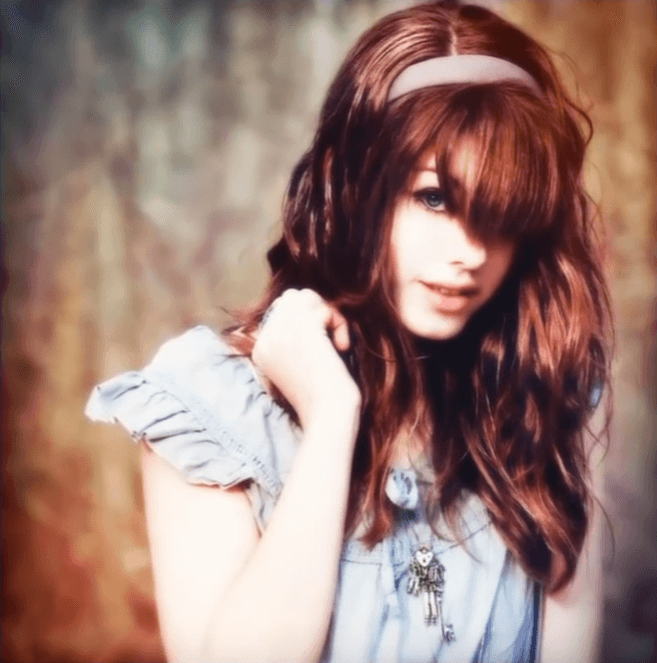
So I hope you got the basic idea of filters, how we can use them, and how they can help us to raise our creativity. This was the last lesson of our course on Photoshop CC for beginners with Guru99. Thank you for reading, and I hope you have enjoyed this course.
