
How to Setup IntelliJ with Selenium WebDriver
 Krishna Rungta
⚡ Smart Summary
IntelliJ IDEA runs Selenium WebDriver tests once the Java project carries the Selenium client library on its classpath, so the IDE compiles, runs and debugs browser automation code from a single window.

What is IntelliJ?
IntelliJ IDEA is a Java Integrated Development Environment (IDE) built by JetBrains. It ships as an Apache 2.0 licensed Community Edition and a commercial Ultimate Edition, and provides advanced code navigation and code refactoring capabilities.
Pre-requisites to Install IntelliJ with Selenium WebDriver
The setup needs the following pre-requisites.
- IntelliJ
- Any Web browser (preferably Mozilla Firefox)
- JDK (Java Development Kit)
- Selenium .jar files
The required jar files can be downloaded from the Selenium.org official site. After download, extract the .jar files into the desired directory.
Note: a Maven or Gradle build resolves selenium-java automatically, making this manual download optional.
How to Download & Install IntelliJ
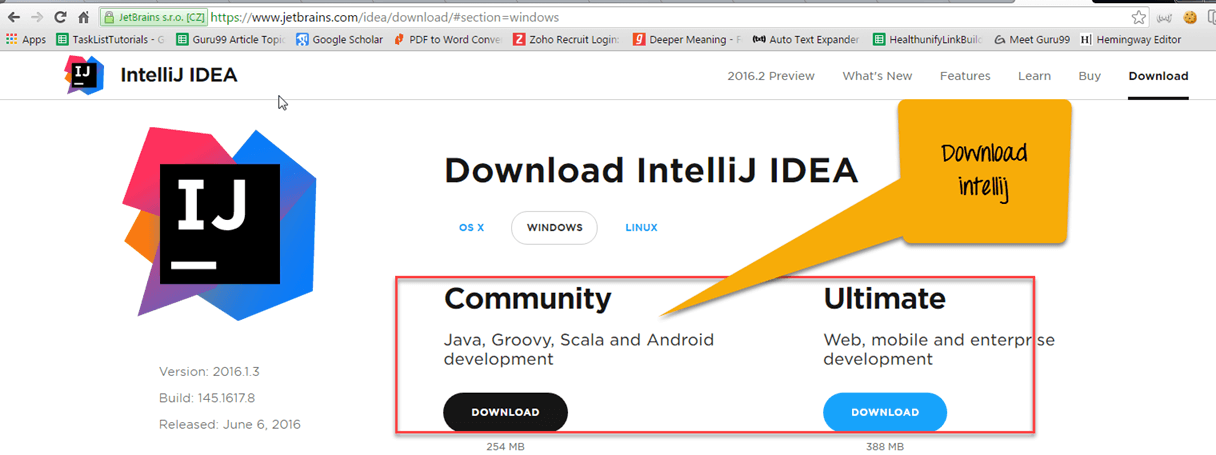
Step 1) To download IntelliJ visit the JetBrains site. Here we selected the “Community” Version; choose “Ultimate” for mobile, web and enterprise development.
Step 2) When you begin downloading, you will see a message like this.

Step 3) A pop-up window will open. Click the ‘run’ button.

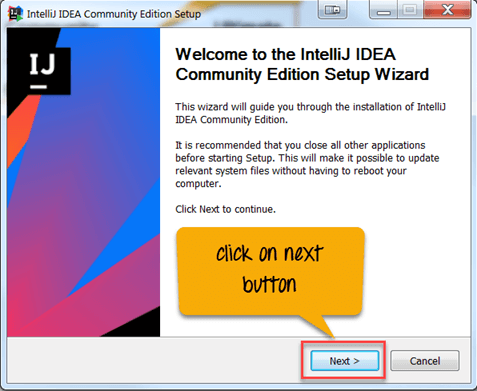
Step 4) Click the ‘next’ button in the setup wizard.
Step 5) Browse to your destination folder and click the ‘next’ button.

Step 6) On the installation options screen,
- Mark the checkbox – 32-bit launcher
- Mark the checkbox for language as per your requirement
- Click the ‘next’ button
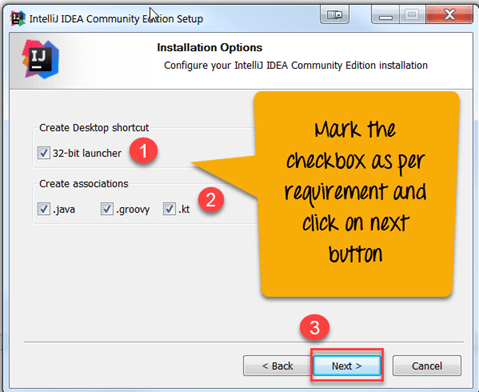
Note: current builds are 64-bit only, so the 32-bit launcher checkbox no longer appears.
Step 7) Click the ‘Install’ button.

You can see the IntelliJ installing process is in progress.

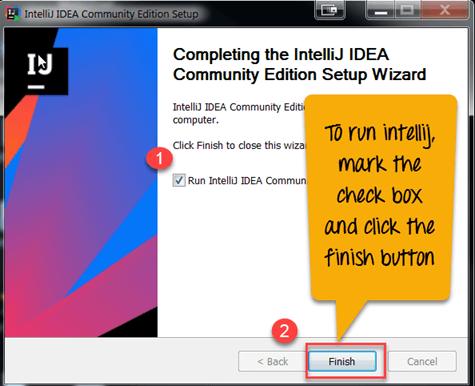
Step 8) On the final wizard screen,
- To run IntelliJ, mark the checkbox and
- Click the ‘Finish’ button
Step 9) If an older IntelliJ version exists, you can import its settings. No previous version is installed here, so select the second option.

Step 10) After you click ‘ok’, IntelliJ asks for the JetBrains privacy policy agreement. Click ‘Accept’.

Step 11) Now you can set the plugin settings.

Step 12) Select the option you need: create a new project, import project or open.

Step 13) On the import screen,
- Select the ‘Project’ and ‘file’ from the library and
- Click the ‘OK’ button

Step 14) The selected file now appears in the project directory.

Configure IntelliJ to Support Selenium
To support Selenium, configure IntelliJ using the following steps.
Step 1) Launch your IntelliJ IDE and make a new Project. Select File -> New -> Project

Step 2) When you Click -> Next, a new screen opens. Name the project; here we used Selenium_Guru99. Then Click -> Finish.
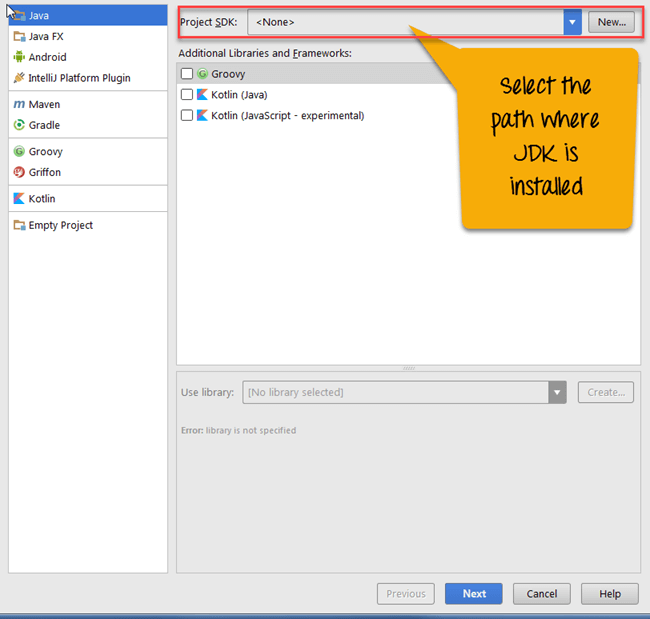
Step 3) Now you need to add the Selenium .jar files into IntelliJ as external libraries.
For this go to File -> Project Structure -> in the project setting tab look for Modules -> Dependencies -> Click the ‘+’ Sign -> Select for JARs or directories.

Step 4) Select all Selenium .jar files from the extracted directory and its /lib subdirectory.

The .jar files are now added. Note that the project’s /src directory is still empty.

Step 5) Right Click on /src directory -> New -> Java Class. Your project structure will look as shown below.

IntelliJ Selenium Example
Now write your first WebDriver script against https://demo.guru99.com/
In this test scenario
- We will launch the URL
- Enter Invalid Email ID
- Click the ‘Submit’ button
- The output will be as shown below- ‘Email id is not valid’

In the result above, you can see that
- Running the code opens a Firefox instance.
- The code sends an email to the WebElement, an input field (abc.gmail.com).
- When Selenium WebDriver clicks ‘submit’, the Guru99 site verifies the email id.
- An unregistered email shows “Email ID is not valid.”
Following is java code for test1, locating both fields by XPath.
import org.openqa.selenium.By;
import org.openqa.selenium.WebElement;
import org.openqa.selenium.firefox.FirefoxDriver;

public class TestSelenium {
			public static void main(String[] args){
				FirefoxDriver driver=new FirefoxDriver();
				driver.get("https://demo.guru99.com/");
				WebElement element=driver.findElement(By.xpath("//input[@name='emailid']"));
				element.sendKeys("abc@gmail.com");

				WebElement button=driver.findElement(By.xpath("//input[@name='btnLogin']"));
			button.click();
		}
}
Note: this Selenium 3 era snippet expects geckodriver on the PATH; on Selenium 4 it runs unchanged because Selenium Manager resolves the driver.
Advantages of using IntelliJ
Beyond Selenium support, the IDE offers several productivity features worth knowing.
- It generates getter and setter methods for object attributes instantly.
- Simple keystrokes wrap a statement in a try-catch or if-else block, which speeds up exception handling.
- Inbuilt packaging tools include Gradle, sbt, Grunt and Bower.
- Databases such as SQL, Oracle, PostgreSQL and Microsoft SQL Server open directly in the IDE.
- It supports Java, JavaScript, Clojure and other languages.
- It runs on Windows, Linux and macOS, and is downloadable from the JetBrains site.
