
How to Setup Cassandra Cluster on Multiple Nodes
 David Carter
⚡ Smart Summary
Cassandra Cluster groups multiple nodes so that data is distributed and no single machine holds everything. This page explains cluster components, the partitioner and token ring, prerequisites, the configuration settings that join nodes together, and how to verify the result.
What is Cassandra Cluster?
A Cassandra cluster is one of the shells in the whole Cassandra database. The Cassandra cluster contains numerous different layers of storage units, and each layer contains the other.
Large organization such as Amazon, Facebook, etc. have a huge amounts of data to manage. So these organizations cannot store that huge amount of data on the single machine. This is when they use databases like Cassandra with distributed architecture.
These organizations store that huge amount of data on multiple nodes. These nodes communicate with each other. For this purpose, Cassandra cluster is established.
- Cluster is basically a group of nodes, so that nodes can communicate with each other easily.
- Coordinator node is the node that receives a client request and communicates with the replicas on that client’s behalf. Any node can act as coordinator for any request.
Partitioner
A partitioner determines how the data should be distributed on the cluster. Partitioner uses a hash function to distribute data on the cluster. It takes partition key to calculate the hash. That hash is called token. Data is distributed on the basis of this token.
The default partitioner is Murmur3Partitioner, which produces tokens spread evenly across a fixed range. Every node owns one or more ranges of that range, and the collection of ranges forms the token ring. Because assignment is by hash rather than by value, adding a node moves only the ranges it takes over rather than reshuffling the whole dataset.
Prerequisites for Cassandra Cluster
There are following requirements for cluster setup.
- You should have multiple machines, physical or virtual, acting as nodes.
- Nodes must be able to reach each other on the network. Ports 7000 for internode traffic, 7001 if TLS is enabled, and 9042 for client connections must be open between them.
- Linux should be installed on each node. It is the platform Cassandra is tested and supported on.
- Apache Cassandra must be installed on every node, at the same version. Mixed versions cannot complete a schema agreement.
- A supported JDK must be installed on each machine, with JAVA_HOME set.
- Clocks must be synchronised with NTP. Cassandra resolves conflicting writes by timestamp, so clock drift silently produces wrong results.
The last requirement is the one most often missed, and it causes data problems rather than startup failures.
.
How to Install Cassandra Cluster on Linux
Cassandra must be installed on each machine before any of them can join a cluster. The screenshots below come from the DataStax Enterprise graphical installer, which was the common route when this walkthrough was written. That installer is no longer distributed for community use, so the current approach is given first and the wizard follows for reference.
Current method: install the Apache Cassandra package or binary tarball on every node identically, then verify each one starts on its own before attempting to join them.
tar -xzf apache-cassandra-x.y.z-bin.tar.gz -C /opt/
export CASSANDRA_HOME=/opt/apache-cassandra-x.y.z
$CASSANDRA_HOME/bin/cassandra -f
Once a single node starts cleanly, stop it, clear its data directory, and move on to the cluster configuration section below.
Step 1) Run the Cassandra enterprise edition setup. On Linux terminal, run the setup. The following page will be displayed.

This page does not provide any necessary information. It just provides information about the Cassandra version. So pass this page and press next button.
Step 2) Accept the license agreement. After pressing next button following page will be displayed.

This page provides information about the packages and sub packages in the Cassandra that is going to be installed. Below it will ask about the license. Check the checkbox ‘I accept the agreement’ and press next button.
Step 3) Install Builder and Click Next. After pressing next button, you will see the following page.

This page asks you about the installation options.
- First of all, it will ask for the installation directory. By default, it is installed in the home directory.
- Next, it asks about installation type, select Simple Install.
- Next, it asks about update system, check it ‘no.’
- Next, it asks for default interface. There are two options, you can install on the localhost or select IP address. Select IP address for installation.
- Press the next button.
Step 4) Setup Node and Click Next. After pressing the next button the following page will be displayed.

This page asks about the node setup.
- First, select Node type ‘Cassandra Node’.
- Next, in Ring Name, give your cluster name. Cluster name should be same for all the nodes in the same cluster.
- Next, select the seed. Seed is the node which other non-seed nodes contact when they start.
- After providing this information press next button.
Step 5) Install the monitoring agent. After pressing next button, the following page will be displayed. This page asks for the IP address where the agent should be installed.
- The agent is needed for the monitoring console, where all nodes can be observed in one place.
- After providing this information, press next button.

Step 6) Press next for Installation. After pressing the next button the following page will be displayed.

Now setup is ready to install. Press next button.
Step 7) Wait for Installation Process. After pressing next button, following page will be displayed.
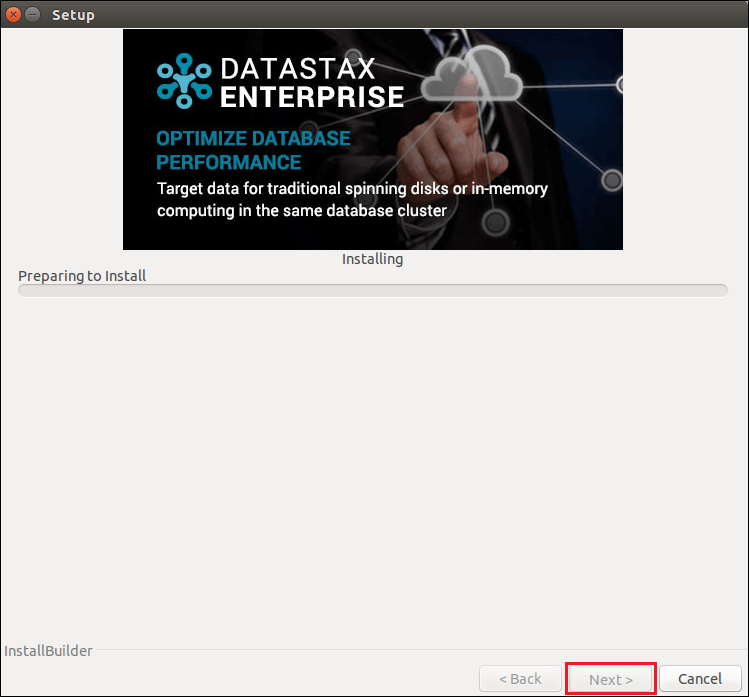
Setup will start installing.
Step 8) Click On Finish Button. After the installation, following page will be displayed. On the same page, you will see the check mark for the option which appears by default.

Configuring cassandra.yaml to Join Nodes
Installation alone does not create a cluster. Nodes only find each other once four settings in cassandra.yaml agree, and this file is where most cluster setups go wrong.
cluster_name: 'Guru99 Cluster'
seed_provider:
  - class_name: org.apache.cassandra.locator.SimpleSeedProvider
    parameters:
      - seeds: "192.168.1.10,192.168.1.11"
listen_address: 192.168.1.10
rpc_address: 0.0.0.0
broadcast_rpc_address: 192.168.1.10
endpoint_snitch: GossipingPropertyFileSnitch
- cluster_name must match on every node. A mismatch is the most common cause of a node refusing to join.
- seeds lists the contact points a starting node gossips with. Two or three seeds per data centre is enough; making every node a seed prevents automatic bootstrapping.
- listen_address is the address other nodes use to reach this one. It must be a real routable address, never localhost.
- endpoint_snitch tells Cassandra the rack and data centre layout. GossipingPropertyFileSnitch is the usual choice, with values set in cassandra-rackdc.properties.
Changing the snitch or cluster name after data exists requires extra steps, so both should be decided before the first node starts.
Starting Cassandra Node
After installing Cassandra on each node, start the servers and follow the steps below. Order matters: start the seed nodes first, one at a time, waiting for each to report as up before starting the next. Starting several nodes simultaneously can produce token range conflicts.
Step 1) Go to the Cassandra installation directory and start the server.
bin/cassandra -f

By executing this command, the Cassandra server will be started. Here is the screenshot where the Cassandra server is starting.
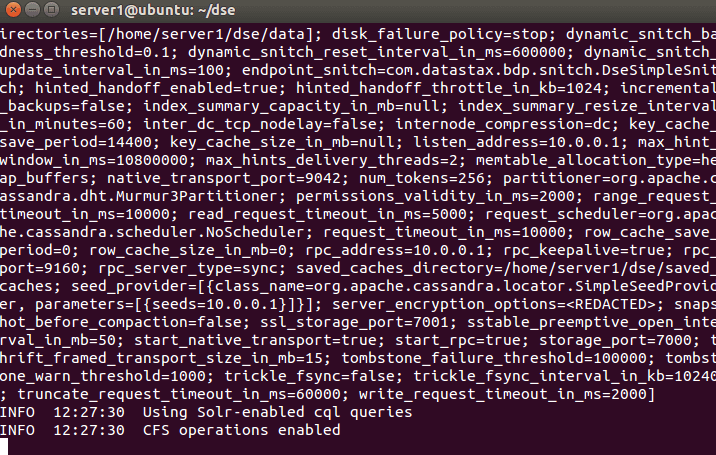
After roughly a minute the server will be up. Start each node server one by one. After starting all the node servers, your Cassandra cluster is ready to use.
Step 2) Verify that every node has joined by checking the ring from any one of them.
nodetool status
nodetool describecluster
Every node should appear with status UN, meaning Up and Normal, and the Owns column should show roughly equal percentages. A single schema version in describecluster output confirms all nodes agree on the schema.
Three symptoms cover most failures. A node that never appears usually has a mismatched cluster_name or a blocked port 7000. A node stuck at UJ, joining, is still streaming data and simply needs time on a large cluster. Wildly uneven ownership points at a snitch misconfiguration, where nodes were placed in the wrong rack or data centre.
With the ring healthy, replication settings for each keyspace decide how data spreads across it, as described in the Cassandra keyspace tutorial and the Cassandra architecture breakdown.
