How to Create Login, User & Grant Permissions in SQL Server
⚡ Smart Summary
Create Login, User and Grant Permissions in SQL Server explains authentication and authorization, covering logins, users, role mapping, and granting permissions through SSMS and T-SQL.

How to Create New Login in SQL Server
Here is how to create login in SQL Server:
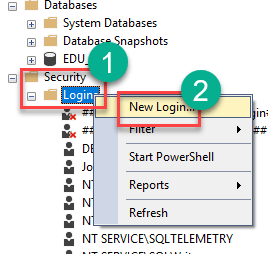
Step 1) To create login SQL server, Navigate to Security > Logins
Step 2) In the next screen, Enter
- Login Name
- Select SQL Server authentication
- Enter Password for MySQL create user with password
- Click Ok

Step 3) Login is created
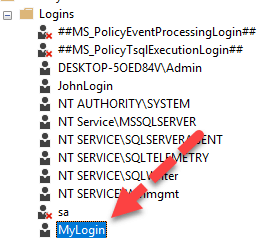
You can also create a login using the T-SQL command for SQL server create login and user.
CREATE LOGIN MyLogin WITH PASSWORD = '123';
How to Create a User in SQL Server Database
A user is an account that you can use to access the SQL server. To create user SQL server, you can use any of the following two ways:
- Using T-SQL
- Using SQL Server Management Studio
How to Create User in SQL Server Management Studio
Here is a step by step process on how to create a user in SQL Server Management Studio:
You will be creating a user for the EDU_TSQL database.
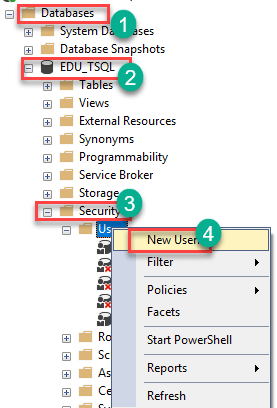
Step 1) Connect to SQL server to create new user
- Connect to SQL Server then expand the Databases folder from the Object Explorer.
- Identify the database for which you need to create the user and expand it.
- Expand its Security folder.
- Right-click the Users folder then choose “New User…”
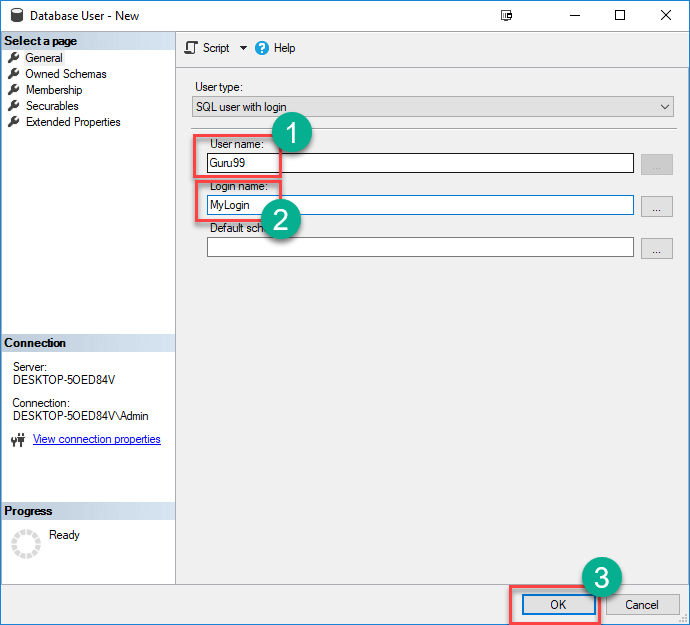
Step 2) Enter User details
You will get the following screen,
- Enter desired User name
- Enter the Login name (created earlier)
- Click OK
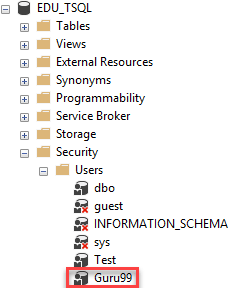
Step 3) User will be created
User is created
Create User using T-SQL
You can use the T-SQL’s create user command for SQL server add user to database. The SQL create user command takes the following syntax:
create user <user-name> for login <login-name>
create user Guru99 for login MyLogin
Note: That the query should be executed within the query window. If a user is already created for a Login, SQL Server will throw an error if you create a user for the same login.
Assigning Permission to a User in SQL Server
Permissions refer to the rules that govern the levels of access that users have on the secured SQL Server resources. SQL Server allows you to grant, revoke and deny such permissions. There are two ways to give SQL server user permissions:
- Using T-SQL
- Using SQL Server Management Studio
Assigning Permissions in SQL Server Management Studio
Here is a step by step process on how to assign permissions to a user in SQL server management studio:
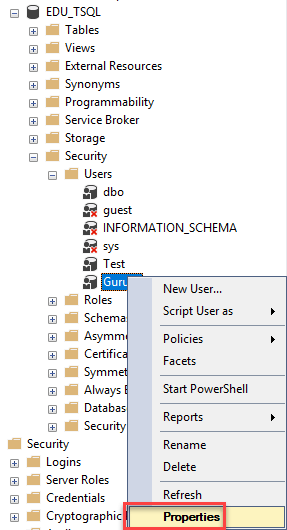
Step 1) Connect to your SQL Server instance and expand the folders from the Object Explorer as shown below. Right click on the name of the user, that is, Guru99 then choose Properties.
Step 2) In the next screen,
- Click the Securables option from the left.
- Click on Search

Step 3) In the next window,
- Select “All Objects belonging to the Schema.”
- Select Schema name as “dbo”
- Click OK

Step 4)
- Identify Table you want to Grant Permission
- In Explicit Permission select Grant
- Click Okay

Step 5) The user Guru99 is granted SELECT permission on table Course.
Grant Permissions using T-SQL
To grant permission to a user using T-SQL, you first select the database using the use statement. You then assign the permission to the user using the grant statement. Here is the syntax for SQL server create user and grant permission:
use <database-name>
grant <permission-name> on <object-name> to <username\principle>
For example, the following command shows how you can grant the select permission to the user Guru99 on the object (table) named Course within the Database EDU_TSQL:
USE EDU_TSQL
GO
Grant select on Course to Guru99
The permission will be granted!