How to Download & Install HP ALM (Quality Center)
 Thomas Hamilton
⚡ Smart Summary
HP ALM (Application Lifecycle Management), also known as Quality Center, installs on a Windows Server environment through a guided download, installation, and server configuration process that connects the application to an Oracle or SQL Server database.

HP ALM System Requirements
Before installing ALM 12.55, one has to understand the system requirements. We will go through how to perform a standalone installation on a Windows environment. Users should meet all the below prerequisites for installing ALM successfully.
| Operating Systems | Databases | Browsers | MSOffice |
|---|---|---|---|
Users should be installing ALM on one of the following Windows Server edition Operating Systems.
|
One of the following Databases should have been installed before proceeding to installing ALM.
|
User should use one of the following browsers to access ALM, after installation.
|
To allow importing data from Excel/Word to ALM, users should have preinstalled one of the following MS Office Suites.
|
Here is the workflow of the installation process:

HP ALM is now an OpenText product (previously Micro Focus), so the newest releases are branded OpenText Application Lifecycle Management. The steps below use the Micro Focus portal that hosted ALM 12.55.
Part 1) Download HP ALM
Step 1) Go to https://www.microfocus.com/en-us/signup.
Enter data and click Sign Up.
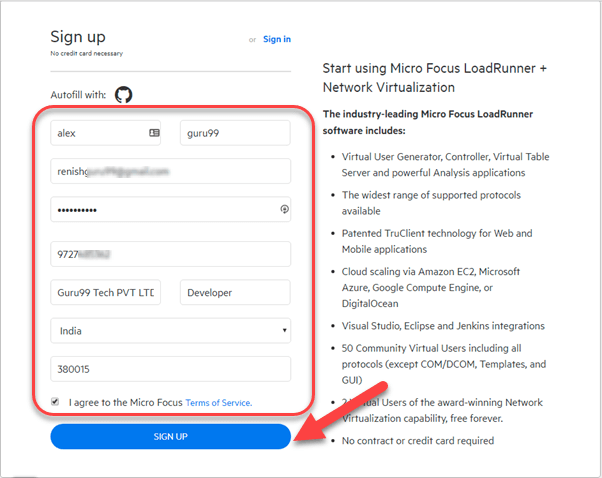
Step 2) In the next screen, you will see a message that registration was successful.

Step 3) Check your Inbox and confirm your email.

Step 4) Go to the Login Page – https://login.saas.microfocus.com/msg/actions/showLogin
- Enter your email
- Click continue

Step 5) In the next screen,
- Enter your Password
- Click the “Sign In” button.

Step 6) You will be taken to your Dashboard.
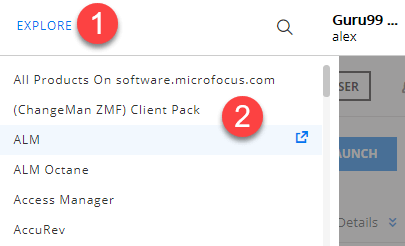
- Click on the EXPLORE menu.
- Click on ALM.
Step 7) Click on Get Started Now.

Step 8) Click on the Download Now button.
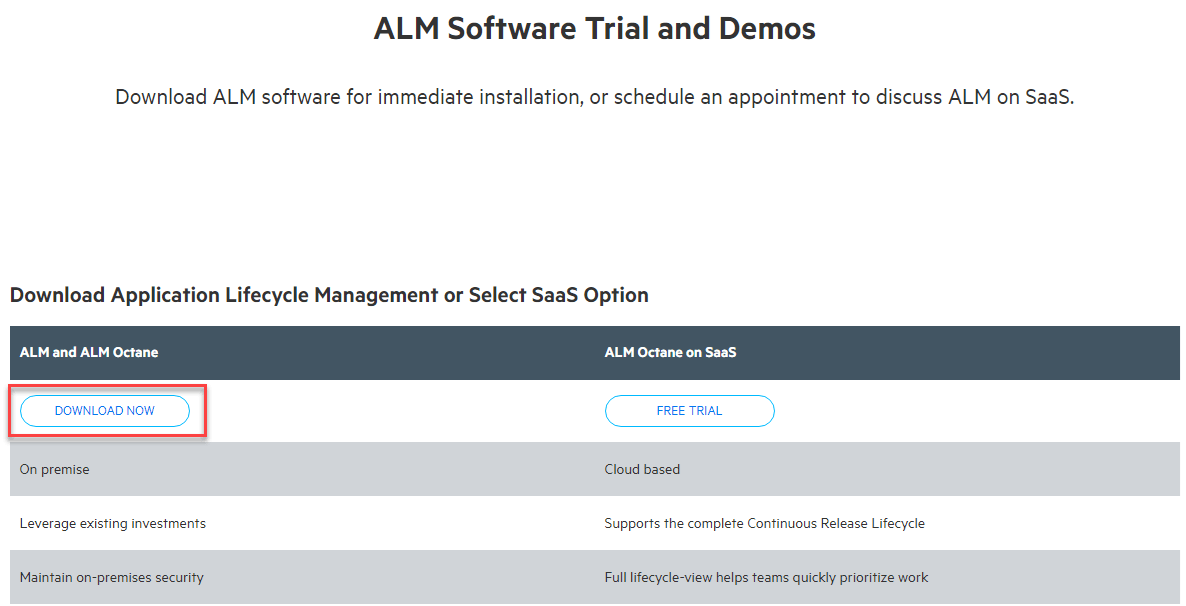
Step 9) Click on ALM_12.55_windows_english.zip.

Step 10) ALM download starts.

With the ZIP package downloaded, extract it and launch the installer to copy the ALM program files onto your machine.
Part 2) Install ALM
Step 1) Extract the downloaded file.

Step 2) Go to the extracted folder and click on ALM_installer.exe.

Step 3) The installation process starts.

Step 4) Click on the Next button.

Step 5) In the next screen,
- Select the checkbox
- Click on the Next button
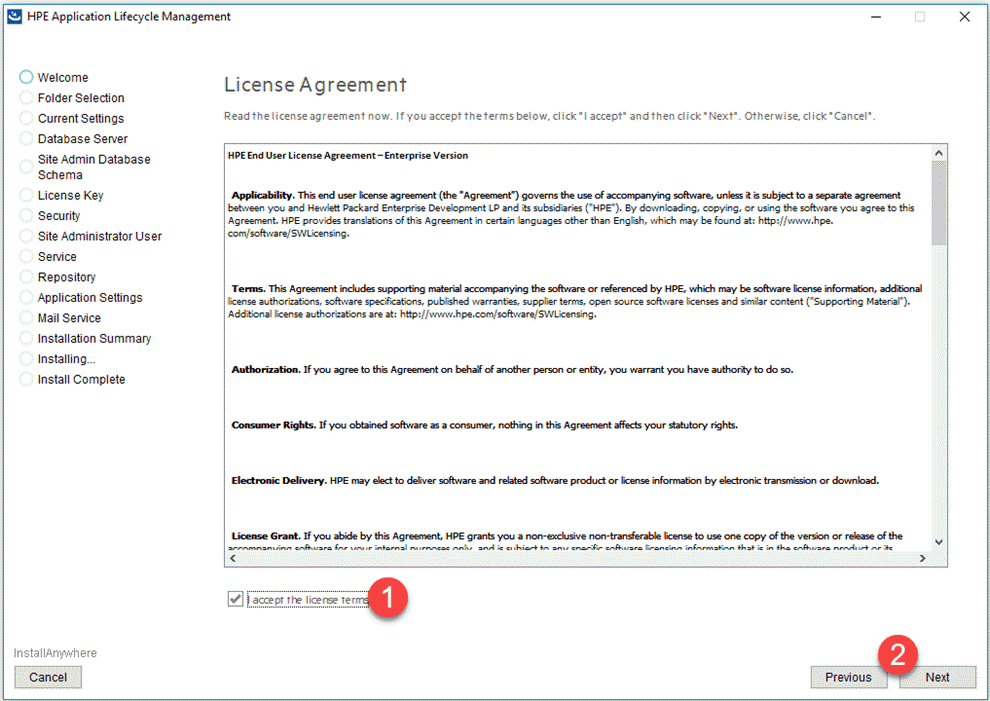
Step 6) Click on the Next button.

Part 3) HP ALM Server Configuration
So far, we have just installed and copied across the necessary installation files for ALM. Upon successful installation, the installer continues with the server configuration wizard.
Step 1) Use the ‘Evaluation Key’, select ‘Application Lifecycle Management’, and click ‘NEXT’.

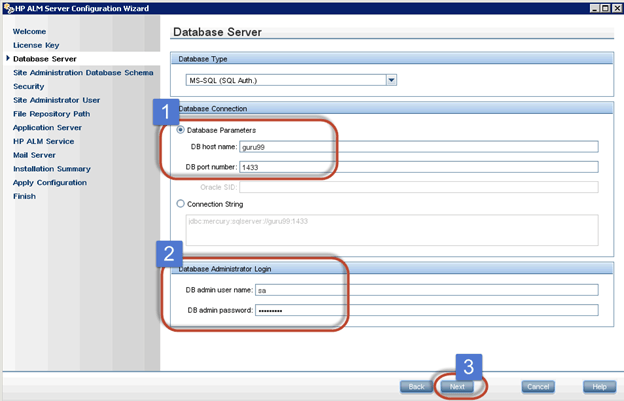
Step 2) Enter the Server Details. You should have preinstalled Oracle/MS SQL Server. Select the appropriate database credentials and click ‘Next’.
Tip:
Use MS-SQL (SQL Auth) because ALM is installed more easily with this option, while MS-SQL (Win Auth) is more error prone due to OS registries and UAC settings.
Troubleshooting
If you get the error “failed to validate database parameters” in spite of entering valid database parameters, then do the following:
- In the command prompt, check that Port 1433 is listening. Use the command netstat -an.
- In SQL Server Configuration Manager > SQL Server Network Configuration > Protocols for MSSQLSERVER > enable the TCP/IP protocol. Restart the SQL Server.
- Double-click TCP/IP in the “Protocols for Your Instance” and go to the IP Addresses tab. Find the IPAll drop-down and set the port to 1433. Click Apply, then OK, and restart the server. This should also resolve the issue.
Step 3) Enter the Site Admin Database Schema Name and password. After entering the details, click ‘Next’.

Step 4) The Security page in the server configuration wizard opens. You can check ‘Use Default Value’ and click ‘Next’.

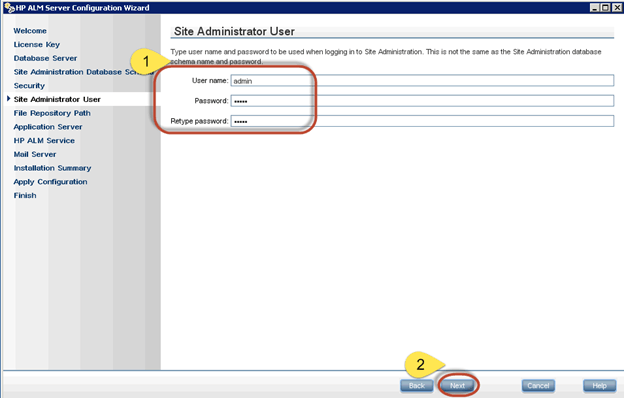
Step 5) Enter the ‘Site Administrator’ User ID and Password. Do NOT forget these credentials, as these details would be required to login to ALM successfully.
Step 6) Select the File Repository Path where all the ALM Data would be stored.

Step 7) You can also select the Port that you would like to install. In this case it is 8181 (the default is 8080, which you can override) and click ‘NEXT’.
Note:
The default Port 8080 might be used by other applications, hence it is better to choose other port numbers.

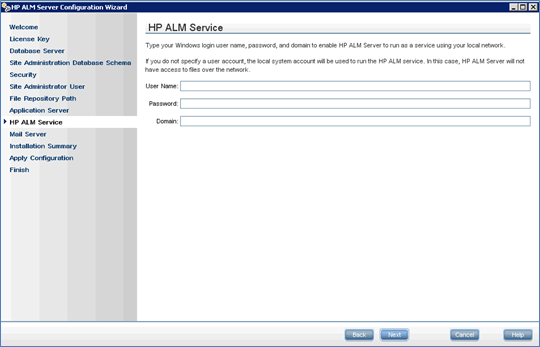
Step 8) Leave the HP ALM Service as empty, as your Windows login credentials would be used by default. Click ‘Next’ to continue.
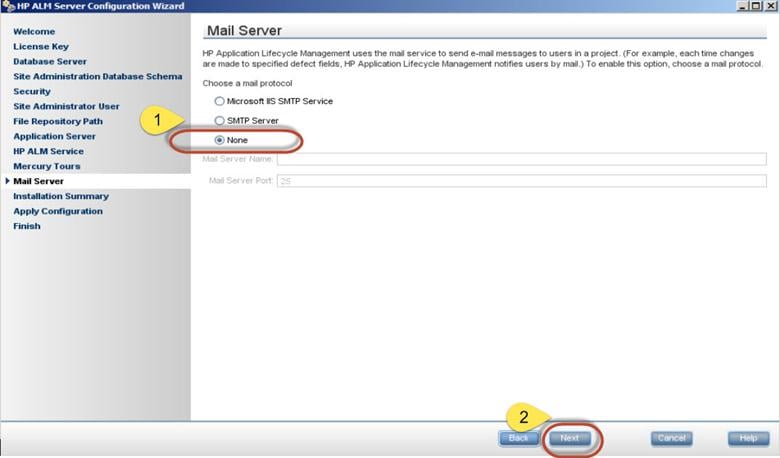
Step 9) Enter the server details to set up the mail server for HP ALM. This is used to send emails using ALM. If you do not want to specify, click none and move ahead.
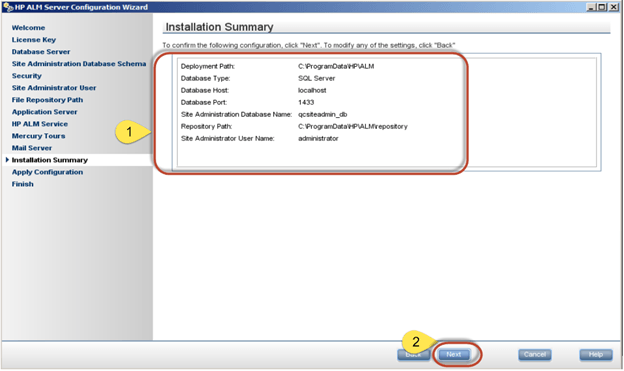
Step 10) A configuration summary is shown before proceeding. Click Next.
Step 11) Configuration proceeds.
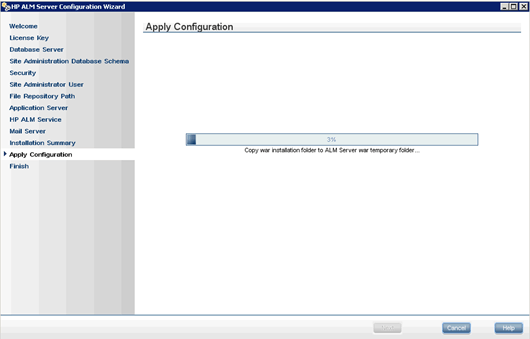
Step 12) Upon applying the configuration, if successful, a status message would be shown appropriately. Click ‘Finish’, and the ALM service will be started if ‘Start ALM Server’ has been checked.

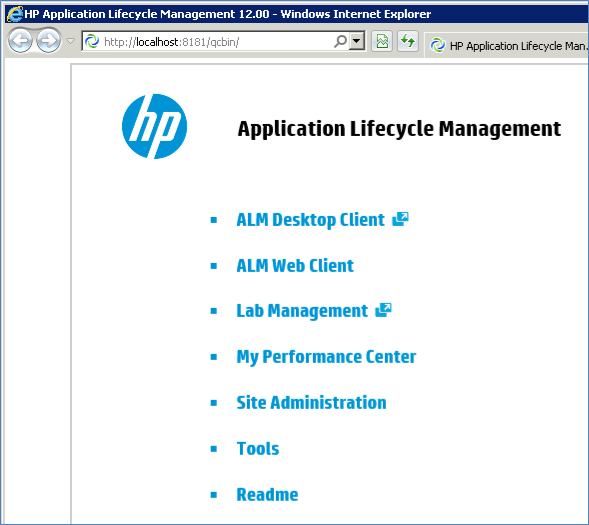
Step 13) Now we can launch Quality Center using the URL: http://localhost:8181/qcbin/. ALM 12.0 would be launched as shown below.