
How to use Pen Tool in Photoshop? Complete Tutorial
 Editorial Team
⚡ Smart Summary
Pen Tool in Photoshop is the selection tool that produces the cleanest, sharpest cutouts because it uses vector technology. This resource demonstrates drawing a path around an object, adjusting control point handles, saving the path, loading it as a selection, and subtracting inner areas.

There are a number of selection tools in Photoshop, but the pen tool is the only tool that gives you a very clean and sharp selection without blurred lines or soft edges, because the pen tool uses “vector technology”.
So if you want to cut any object with clean, sharp edges, then you must have some knowledge about the “Pen tool”. So let us start with it.
Photoshop Pen Tool Tutorial
Here is my image, and I want to cut out this pair of sunglasses with the help of the “pen tool”.


So first go and select the pen tool in the toolbar. There are different types of pen tool we can see, but right now I am using this first pen tool.

When you start drawing a path with the pen tool, I suggest you start it from any corner point of the object, and take very few control points.

Now click and drag it; you can see a moving handle of the control point, and it bends the path as you can see. We can set our path properly with the help of this handle.

Now click and drag for the next control point and bend its handle this way to set it properly. You can see here the path gets out of line, because when drawing the previous control point we bent its handle. So to overcome this problem, just hold the Alt key and click on the last control point before you create a new one. It will remove the handle and allow you to draw the path properly.

Continue drawing the path like this. This is the path panel. In this you can see the path you have drawn some time before. Just double click on it and save it.


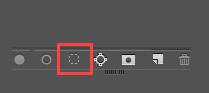
Here is the path which I have created before. Click on it, and see at the bottom of the path panel there is an icon called “Load Path as Selection”. By clicking on this icon you can convert the path into a selection.

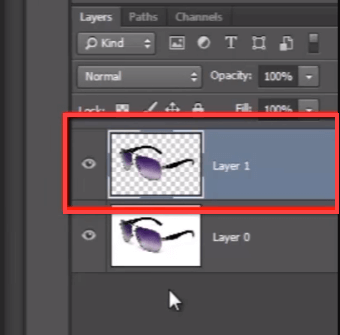
So now select the layer and press CTRL + J to create a new layer of the selected portion.
Here I want to cut this hole properly from the path. So I have to go to the path panel and select my path again, and see here in the “Pathfinder” options, I have to choose “Subtract Front Shape”.

Now draw the path at the edge of that hole, select it, and delete it. Let me zoom in here.
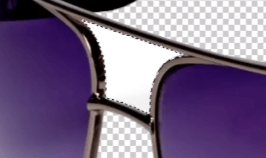
Here you can see the edges of the object are still very sharp. They have not been blurred.
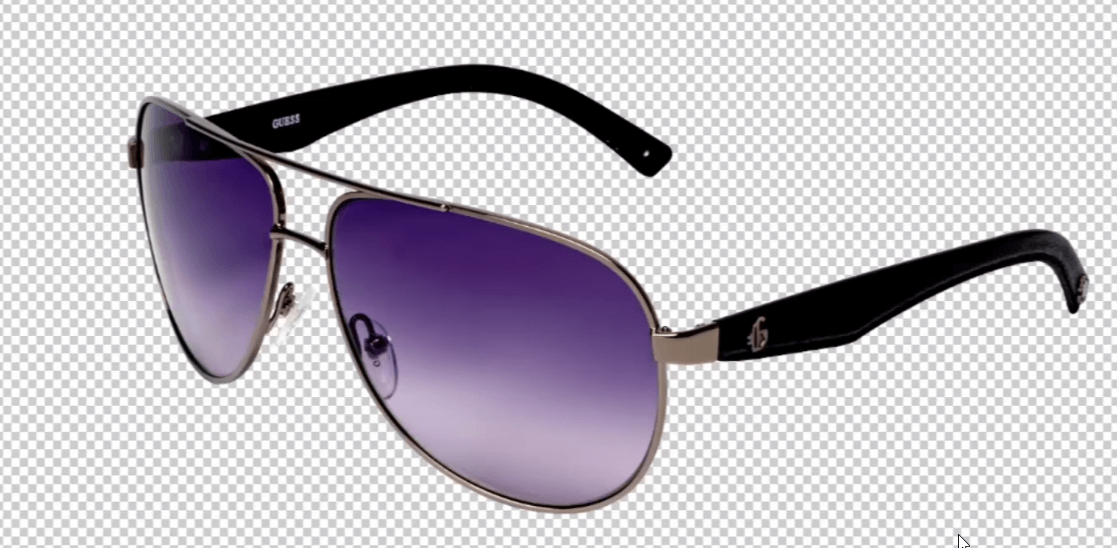
So with the help of the pen tool you can get a very clean, sharp, and accurate extraction, more than any other extraction technique in Photoshop, because it follows vector technology.
