
Photoshop Layer Mask Tutorial with Example
 Editorial Team
⚡ Smart Summary
Photoshop Layer Mask is a non-destructive tool that hides and reveals parts of a layer without deleting pixels. This resource demonstrates layer masking through a practical example, building an Avengers movie poster by blending several images into a single background sky.
What is a Photoshop Layer Mask?
Layer Mask is a very important part of Photoshop tools that gives the ability to hide and reveal parts of the layer without deleting them.
This is a very efficient and non-destructive way of working, and it helps designers to become more efficient and more creative.
Let us try to make an image with the help of a layer mask, so that we can understand exactly what the layer mask works for.
I want to make a movie poster for a well-known Hollywood movie, “Avengers”, so let us start working on it. I am using this image as the background of the poster.
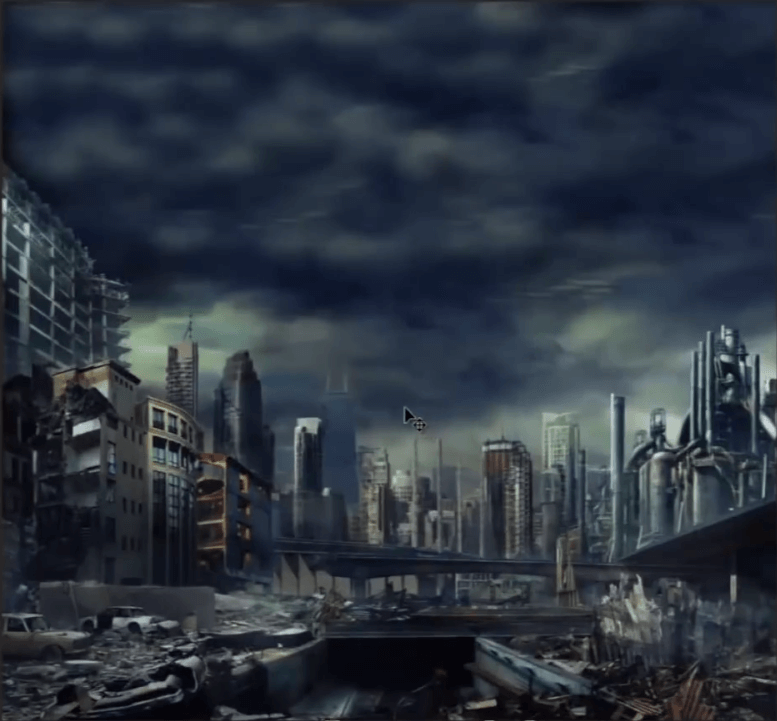
These are all images which we are going to use in this poster. This is our background layer, and we will take all other images one by one and set them all in the sky portion of the background.
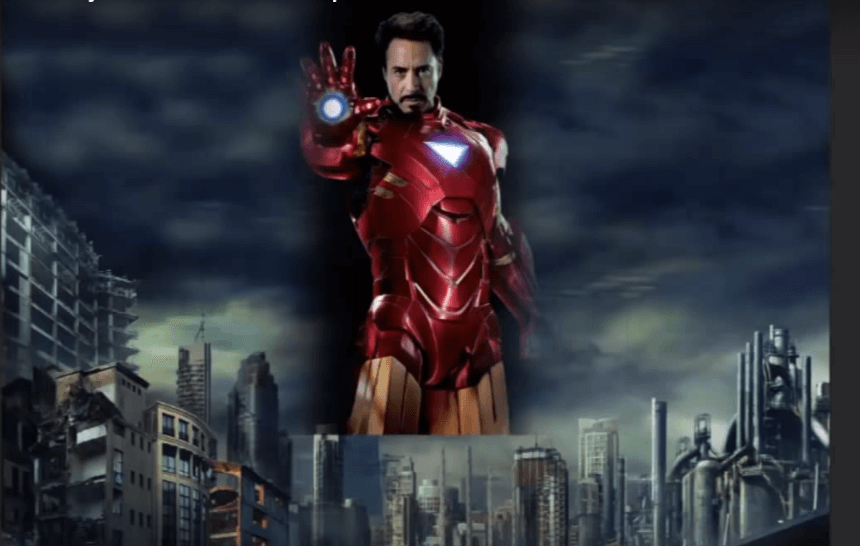
So let us take the first one. I am choosing Iron Man first, because I want to put him in the middle of the sky.
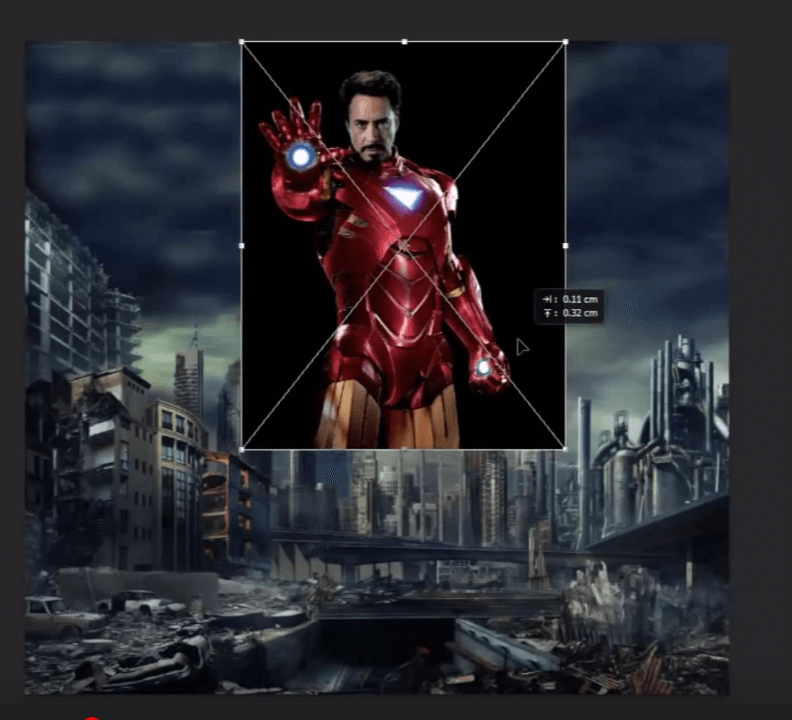
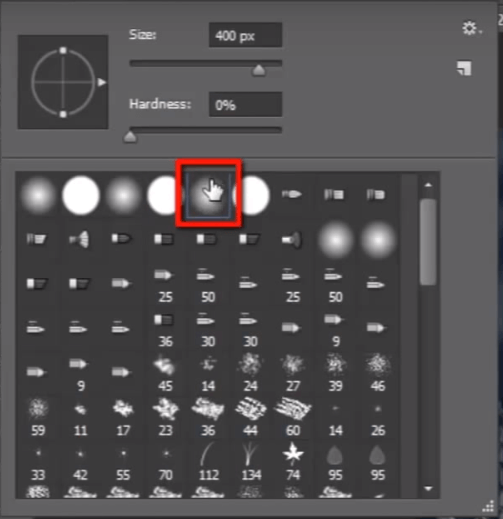
Scale the image and set its position properly. Then take a Photoshop layer mask for the image. Then grab the brush tool with a smooth round brush, set the brush size, and start painting on the image to hide the unwanted part of the image.


Look at the layer mask. It displays some black area in which you have painted, and the black color hides pixels.
Now go for the next image, “Captain America”, and do the same process as we have done before on the Iron Man image. And do the same process again on the other 3 images which we are using in this file.
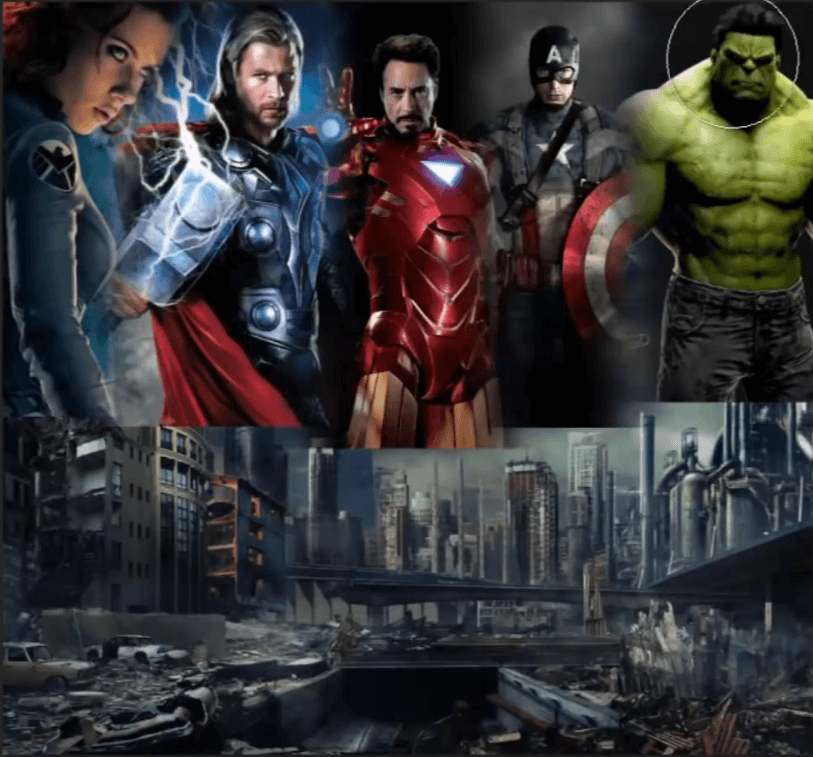
Let us speed it up.
Now put the Iron Man on the top of the layer panel, because it is in the middle portion, so it will not look good to be behind all other layers.
See, the bottom edges of all images are still sharp, so it is looking very bad. So grab the brush tool and make all bottom edges blur, so that all images can look properly merged. Once you have done with it, then select all five images and press CTRL + G to put them all in a single group.
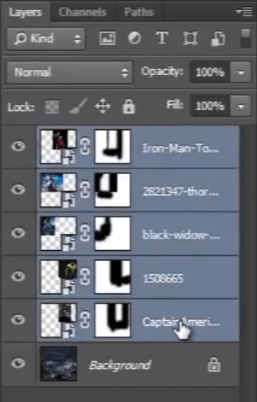
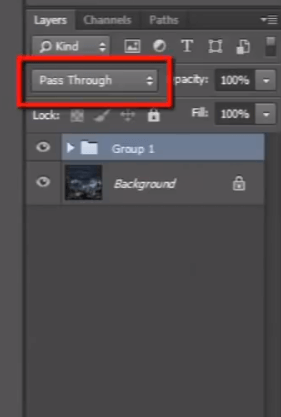
And change the blend mode of that group to “Screen”, and look, it is nicely blended with the sky.

Then make the image more effective with the help of “Curves”.


Now we need to give a title to this poster. I have one image that we can use in this poster. Scale and arrange the position of the image.

Now take a layer mask for this image, and start painting with black color and a smooth round brush on the unwanted parts of the image. Remove all that black color around the name.
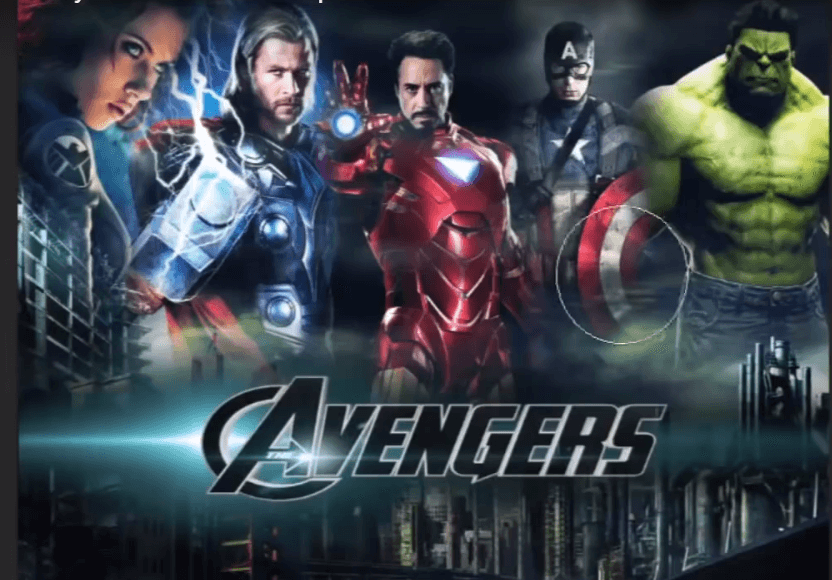
And then change the blending mode to “Linear Dodge”.

Drag it down below the Curves layer. Now save the file and take a look at it. It looks awesome.

We designed this poster very quickly and easily with the help of a layer mask. So now just remember that black color hides pixels and white color reveals pixels. So now you can understand how important the Photoshop masking layer tool is.
This was the layer mask tool. Now go ahead to the next topic, “shape layer“.
