What is Standard DSO in SAP?
⚡ Smart Summary
A Standard DSO in SAP BW stores consolidated, cleansed transaction data at detailed level across three tables, the activation queue, active data, and change log, supporting overwrite, delta loads, and detailed-level reporting.
What is a Standard DSO?
A standard DSO is the most common DataStore Object. It has three transparent tables on the database:
- Activation Queue: holds the records that are to be updated but have not yet been activated.
- Active Data: the table that holds active data.
- Change Log: holds the change history for delta loads.
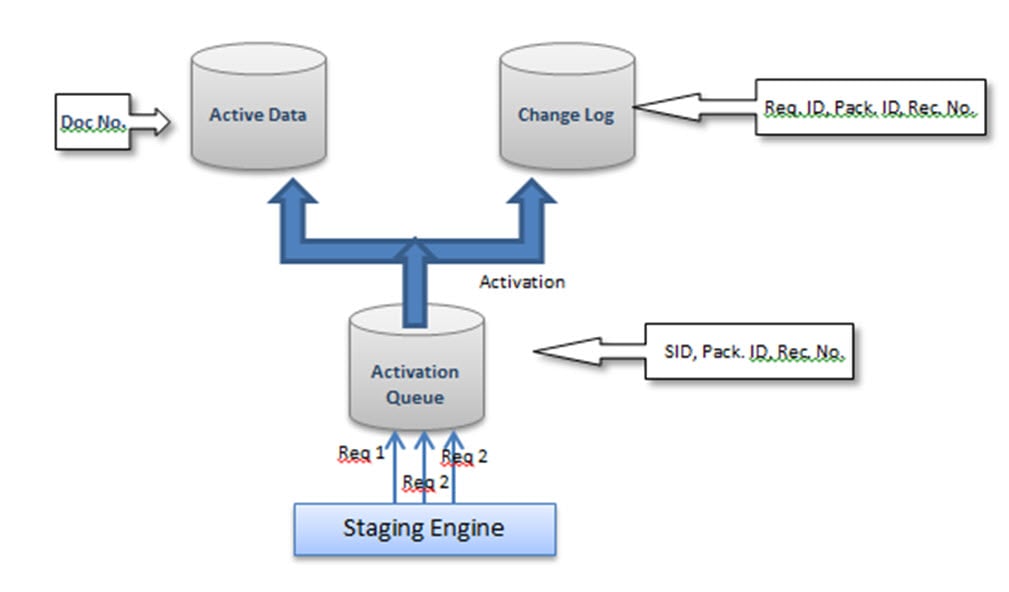
Process of Data Transfer to a DSO
- Data is first loaded into the activation queue, also called the new data table.
- Upon activation, data is transferred from the new data table to the active data table.
- And then to the change log table. The change log table holds the changed or corrected data.
Note: the data in the change log table is stored redundantly and can be deleted after the records have been activated.
Creation of a Standard DSO
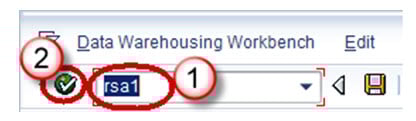
Step 1)
- Go to transaction code RSA1.
- Click the OK button.
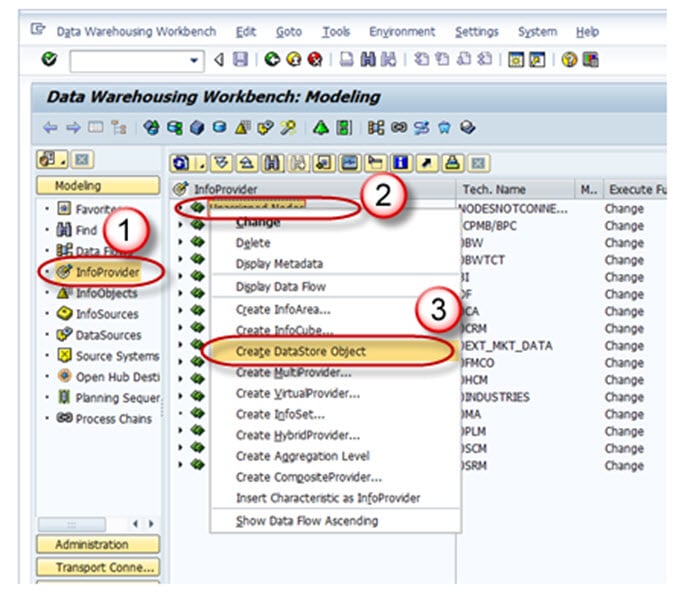
Step 2)
- Navigate to the Modeling tab -> InfoProvider.
- Right click on InfoArea.
- Click on “Create DataStore Object” from the context menu.
Step 3)
- Enter the Technical Name.
- Enter the Description.
- Click on the “Create” button.

Settings in a DSO
- Type of DataStore Object: changes the type of DSO. By default, Standard DSO is chosen. This can be changed to write-optimized or direct-update DSO.
- SID Generation upon Activation: generates the Surrogate ID (SID) for each master data value when this option is checked.
- Unique Data Records: used when the DSO will never hold duplicate values.
- Set Quality Status to OK Automatically: sets the quality status after data loading completes.
- Activate Data Automatically: automates DSO activation.
- Update Data Automatically: loads the data in the DSO to target objects automatically.
Including Key Fields and Data Fields in the DSO
A DSO contains two kinds of fields: key fields and data fields. The key field is used to make records unique. Other fields can be included as data fields.
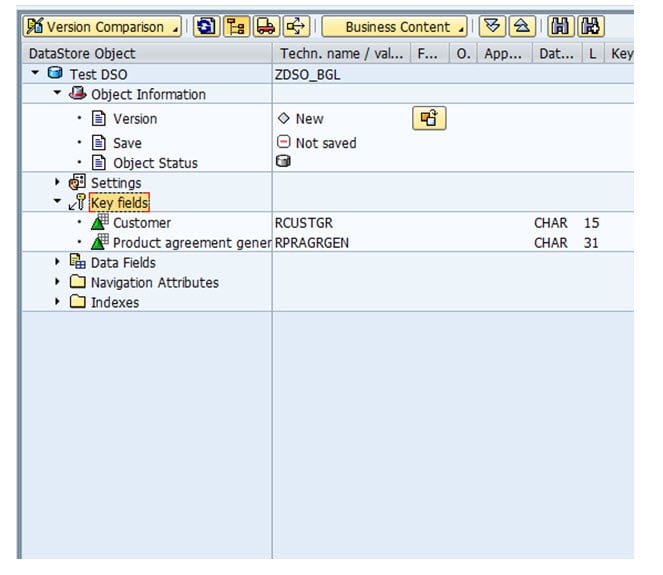
Step 1) Right click on “Key fields” and choose the option “InfoObject Direct Input”.

Step 2) The following pop-up opens. Here you can input the technical names of the InfoObjects to include and press Enter.

Below shown are the key fields added in the DSO.
Step 3) Navigational attributes are viewed in the DSO by default, but the ON/OFF check box has to be chosen if a navigational attribute is to be used in reporting.
Step 4) The DSO structure design is complete. Activate the DSO by clicking the Activate button.
